
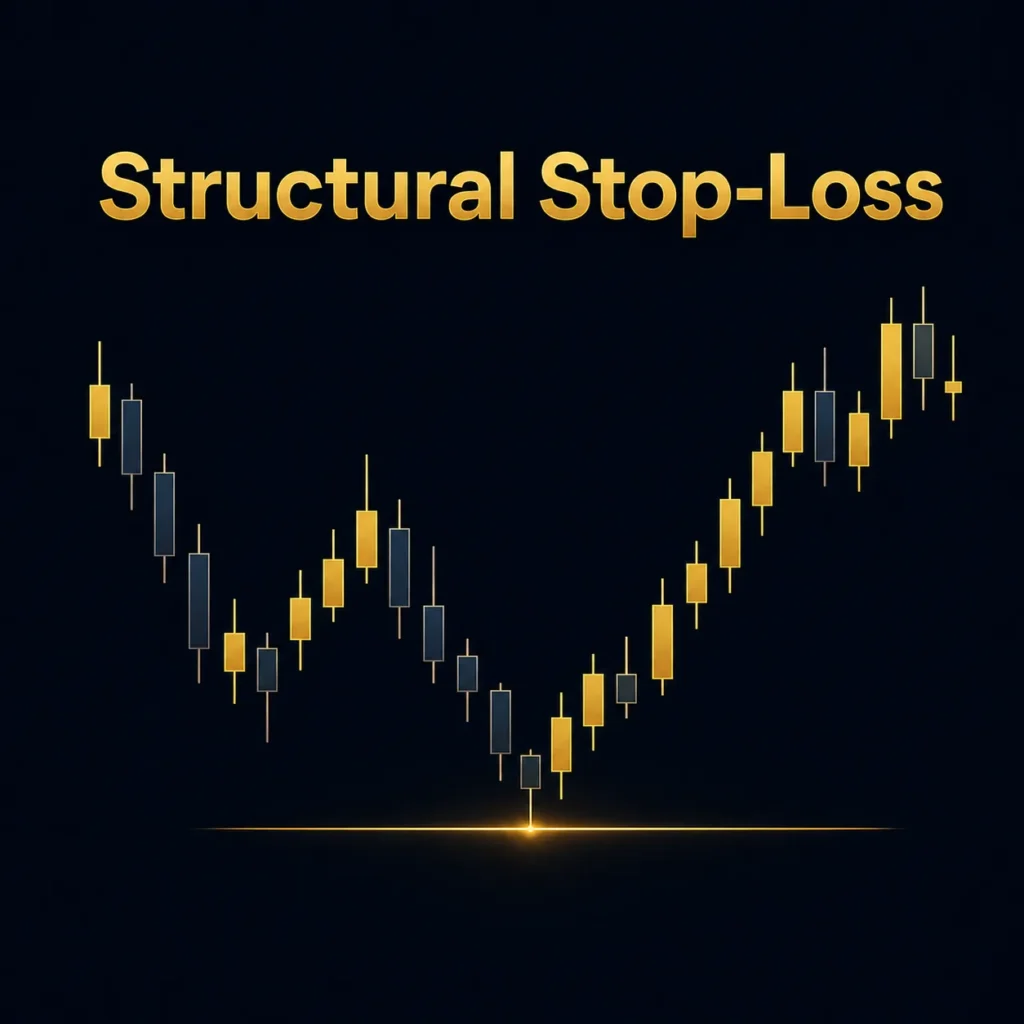
Key Takeaways: A structural stop is placed beyond a meaningful chart level where the trade thesis itself breaks down, rather than at an arbitrary fixed pip distance. This matters because arbitrary stops can get hit by normal volatility while the trade idea is still valid. Position size should be calculated from the structural stop distance, not the other way around.
Where you place a stop-loss is a decision most new traders spend far less time on than entry timing — and it’s usually the more important of the two. This article compares arbitrary stop placement with structural stop placement, the approach taught throughout the Master ICT Course.
What an Arbitrary Stop Looks Like
An arbitrary stop is placed based on a fixed distance — a set number of pips, a round dollar amount, or “however far away keeps my position size comfortable” — without reference to what the chart is actually showing. It answers the question “how much am I willing to lose?” without answering the more important question: “at what point does this trade idea actually stop being valid?”
What a Structural Stop Looks Like
A structural stop is placed beyond a specific, meaningful chart level — a relevant swing high or low, the far edge of an order block, or beyond a liquidity zone the trade thesis depends on. The logic is different: if price reaches this level, the reason you took the trade is no longer true, regardless of how much money that represents.
Why the Distinction Matters
An arbitrary stop can get hit by normal volatility while the underlying trade idea is still perfectly valid — meaning you’re stopped out of a trade that would have worked, purely because the stop distance didn’t account for the market’s actual behaviour at that level. A structural stop, by contrast, is placed exactly where the trade thesis breaks down, so being stopped out and being wrong tend to align much more closely.
Structural Stops and Liquidity
There’s a well-known tension here: obvious structural levels are also exactly where liquidity tends to concentrate (see our article on liquidity grabs), meaning the “correct” structural level is sometimes also the level most likely to be swept before a genuine move. Traders address this in a few ways:
- Placing stops a small, deliberate buffer beyond the obvious structural point rather than exactly at it.
- Waiting for confirmation of a structural break before entering, rather than anticipating it.
- Accepting that some trades will be stopped by a liquidity grab, and treating that as a cost of using structurally sound stops rather than evidence the method has failed.
Position Sizing Follows the Stop, Not the Other Way Around
A common mistake is deciding on a lot size first, then placing a stop at whatever distance that size makes convenient. This is backwards. The correct sequence is: identify the structural invalidation point first, then size the position so that the distance to that stop represents your intended account risk percentage — not the other way around.
No Stop Placement Is Risk-Free
Even a well-placed structural stop can be hit — markets don’t always behave as structure would suggest, and gaps or extreme volatility can occasionally cause slippage beyond the intended stop level. Trading forex, gold, and CFDs carries significant risk regardless of stop-placement method. See our Risk Disclaimer.
Put Structural Stops Into Practice
Combining structural stop placement with the position-sizing framework from our position sizing guide is core to the risk-management approach taught in the Forex Trading Elite Course and Master ICT Course.